I installed a cheap chinese PID controller inside my Rancilio Silvia V2 espresso machine. Modifying the machine with PID control is not an entirely new concept, however my decision to mount it inside the front panel of the machine (rather than in an external enclosure) is reasonably novel. When I did it, I was not aware of anyone having done so, but I did later find some other examples.
Despite terrible documentation, the PID controller works perfectly, although after a few days I noticed that if the machine is left on for a while (longer than half an hour or so) the PID will occasionally lose its mind and return some weird Pv measurements:

I’m pretty sure that this is because I am using a K-type thermocouple. Thermocouple junctions actually require a second ‘reference’ junction (that is at a stable and known temperature) in order to take a measurement, and this second reference junction is inside the PID itself – so is naturally subjected to its own heating/cooling, forming a positive feedback loop and distoring the measurement. The error is only apparent after the boiler has been on long enough to heat up the entire machine and perhaps create some kind of (negative?) thermal gradient. I have ordered a PT100 type sensor, which I hope will correct the issue.
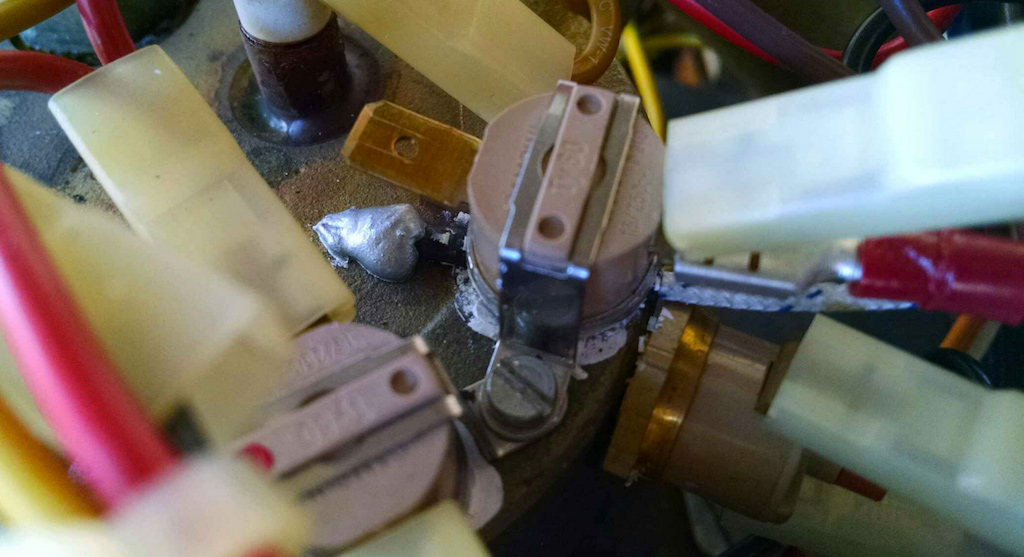
The thermocouple is mounted under one of the (no longer used) thermostats, which provides a fairly convenient way to clamp it down. The actual thermocouple is just resting a few mm above the boiler, with a blob of thermal paste to bond it:

The SSR was installed in the cavity in the base, thermally bonded with thermal paste (not that it will get hot) and bolted. (click to enlarge):
Oh, and this is what the insides of one of those Chinese “40A” SSRs looks like:

Other mods: I also took the opportunity to sand and then paint the awful foil-bonded, “chrome” plastic shroud that goes over the portafilter.

After working down to a 2000 grit it was pretty smooth:
I used a heat and impact-resistant aerosol paint.
A few coats. Dries pretty quick (Australia, huh?)
The bottom of the portafilter was removed using a hole-saw on a drill press, then cleaned up with a file and sandpaper.


Leave a Reply